11/1/14
Load Leveler Shocks, and Black Oxide
During test drives of a 365GT 2+2, we noticed the rear of the car
sagging lower and lower. This is the classic symptom of a Koni Load
Leveler shock failure. For four Ferrari 2+2 models, 365GT 2+2,
365GTC/4, 365GT/4 2+2, and the 400 2+2, Ferrari installed a special
self leveling shock that would adjust the ride height automatically
when heavy loads or passengers were put in the back of the car. As
these shocks aged, the seals leaked and the load leveling shock failed.
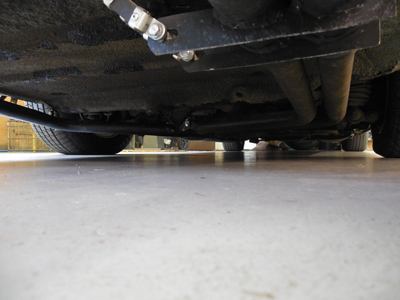
Ferraris are already low to the ground, but this car had about 3 inches
of ground clearance! Not only was this a risk to tearing out an exhaust
system, we recently had a C/4 crack it's bodywork when the rear tire
hit the inner fender!
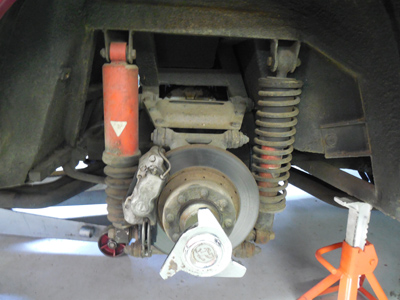
There are two solutions to fixing this problem, rebuild or replace. The
load leveler (on the left) can be disassembled and new seals can be
installed, but unfortunately Koni no longer rebuilds them. (Hmm, I
wonder why?) There are only a couple of people I know who have done
this successfully, but they both admit they don't know how long their
rebuilds will last. I suspect there is a design flaw and despite new
seals, the shock will eventually fail again. The second solution it to
replace the shock all together. Koni makes an update coil over shock
that has an adjustment so the user can manually adjust the ride height.
It's a compromise of reliability over convenience, but I think this is
the best way to go.
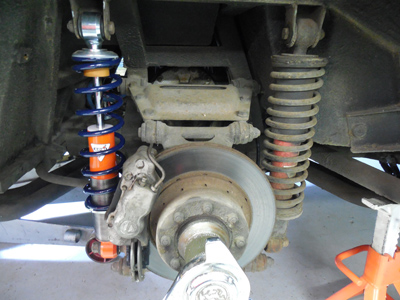
It didn't take long to pop out the old shock, and install the new unit,
and soon the fear of the scraping exhaust pipes was gone!
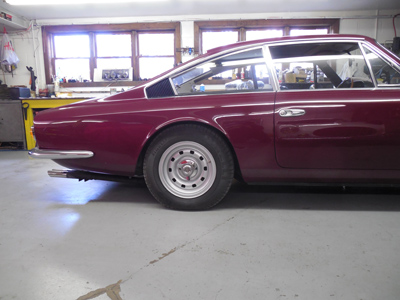
Here's the before picture.
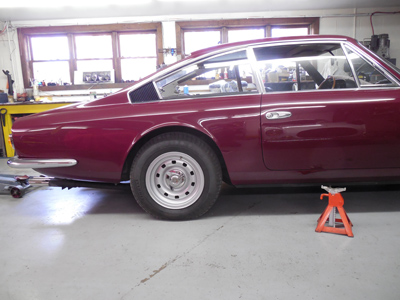
Here's the after. The difference is subtle, but that extra inch or two
of height will save the owner from some expensive repairs in the
future, let alone the embarrassment of scraping the bottom of his car
when visiting friends!
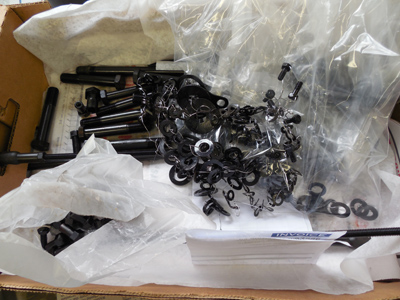
The batch of black oxide came back from the plater and I sorted out all
the little bits and pieces for the 275GTB/4.
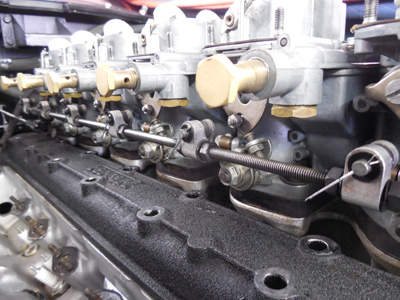
I carefully followed my notes and drawings to reassemble the throttle
linkages. I'm using regular cotter pins to hold the pieces in place,
but eventually will be installing correctly finished black oxide cotter
pins.
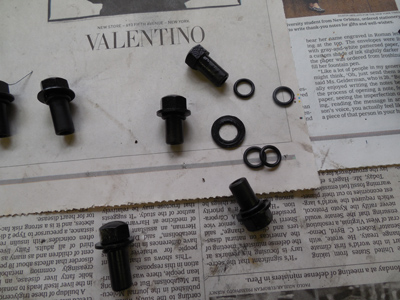
The valve cover bolts were correctly finished in black oxide. Each bolt
received a flat washer and o-ring. With over 50 of these guys to put
together, it was a little fiddly.

Installed, these valve cover bolts seal the oil in with the o-ring that
sits in a groove in the valve cover so you can torque down on the bolt
without completely smashing the o-ring.
I wanted to give everyone advance warning: This website is getting an update!!!
Since
last summer, I've been working with a web design company to revamp
tomyang.net, and it's very close to a relaunch. I know this change will
he met with mixed opinions from "Finally!" to "... but what was wrong
with the old version?"
I'm not one that believes in "change for the
sake of change," but I think this redesign will help make access to the
information easier and help anchor the Vintage Ferrari community to
Tomyang.net. When will this change happen? When it's ready. It's been a
lot of work to transfer nearly 7 gigabytes of data, pictures and 15
years of blog posts over to a new format, and collate it into a user
friendly website. I'm hoping we're a week or so away. You'll know when
you see it! Thanks.

Reminder: If you have a Ferrari
related project, car, or idea
you'd like to explore, I'd love to talk to you. I can also help if
you're thinking of buying or selling. This website represents what I
love to do, and now it's how I make a living, so if you'd like to do
something together, let me know. It all begins with an e-mail!
Previous
Restoration Day
Next
Restoration Day
Home
page